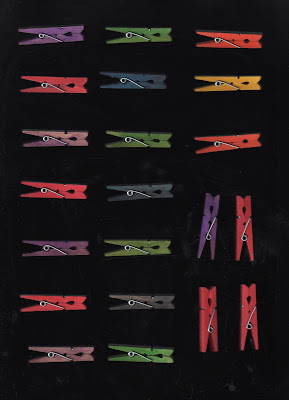
1. Open scanner and arrange items. Ensure the glass is clean.
2. Plug USB cord from scanner into mac.
3. Click "scan to computer" on printer.
4. The image will appear on screen. Using the select tool, select the area you want to scan. Select the resolution and colour mode. (Scan at 300dpi and in RGB colour mode)
5. Click okay.
6. Congratulations, you have successfully scanned!!
Below I have included 7 before and after images of scanned items that I have opened on Photoshop, and adjusted where necessary.
Before After
Before After


No comments:
Post a Comment